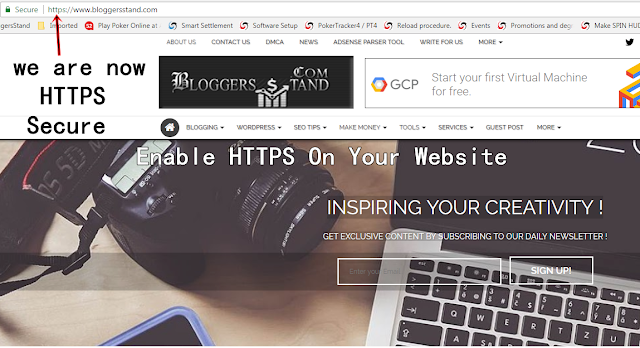
What is HTTPS?
HTTPS (Hypertext Transfer Protocol Secure) is an internet communication protocol that protects the integrity and confidentiality of data between the user's computer and the site. Users expect a secure and private online experience when using a website. We encourage you to adopt HTTPS in order to protect your users' connections to your website, regardless of the content on the site.Data sent using HTTPS is secured via Transport Layer Security protocol (TLS), which provides three key layers of protection:
Encryption�encrypting the exchanged data to keep it secure from eavesdroppers. That means that while the user is browsing a website, nobody can "listen" to their conversations, track their activities across multiple pages, or steal their information.
Data integrity�data cannot be modified or corrupted during transfer, intentionally or otherwise, without being detected.
Authentication�proves that your users communicate with the intended website. It protects against man-in-the-middle attacks and builds user trust, which translates into other business benefits.
Enable HTTPS for your custom domain
In order to get enable HTTPS on your custom domain go to draft.blogger.com then from dashboard go settings>Basic as shown below in the screenshot.Now you can seee HTTPS availabilty is on NO mode. Turning on HTTPS availability will allow visitors to view your blog/ website over an encrypted connection by visiting https://www.bloggersstand.com.
In the period of acitvation time to HTTPS will take around 2-3 minutes to enable. After it's activated from HTTP to HTTPS your page will refresh automatically and does not take long time. Look below in the picture how it look:
After completing the process of URL from HTTP to HTTPS your page will refresh if it won't you refresh it and your page will look like this now:
If your setting is like this then your blog url is changed to HTTPS from HTTP and its ready to use. And you also enable HTTPS redirect to yes for blog/website to be accessed using HTTPS only.If there is any link with HTTP it will automatically redirect to HTTPS and also if your visitors have bookmarked your blog with http and they are accessing http they all will redirect to HTTPS version of your website.
After activating the HTTPS for your blog your ads will disappear for sometime. But you don't need to worry for anything google take some time to check your version for availabiltiy of adsense ads for your blog.
Now HTTPS is active on your website you need to change few things.We recommend to everyone follow this step for your blog.
- Edit all your urls from http to https of your blog.It's very easy to use just go to your theme>edit html and press CTRL+SHIFT+R at same time and enter your old blog url i.e something http://www.domain.com in the box that appears right side of the top corner and click enter after that now enter your new url with https://www.domain.com and click enter doing this will replace all your http urls to https but don't forget to take backup before doing this.
- Now check your website template for mixed content error. if the https is not in green color and it shows in black color that means your template has mixed content, first fix the mix content then it will turn green Secure on your blog.
- Also add new search property in google webmaster tool, we have already share how to add website property in google search console with using https. submit all types of url.
- Change your sitemap url robots.txt to HTTPS
Adding https to your blog there is a one big benefit is :
Google improve those site ranking in search console which are using HTTPS in thier websites or blog. So i will surely increase your ranking in google search engine.


0 Comments